Use your Google Account as an OpenID Connect provider
We have passwords everywhere: to unlock our computer, to reach our inbox, to login as root on our Raspberry PI, etc. Unless you have a password vault to store your credentials securely, it is very difficult to keep all your credentials safe. With the OpenID Connect protocol, you can replace the individual passwords of every web application by a Google Login.
This article goes through all the steps to use your Google Account as an OpenID Connect provider and subsequent articles (check links at the bottom of this article) explain how to configure the different services and software to use your Google Account as an OpenID Connect provider.
The article is divided in three parts.
- a general overview of OpenID Connect protocol
- how to configure an OpenID Connect client in the Google Developer Console
- how to test your setup
Overview of OpenID Connect protocol
Better than a very technical explanation about the protocol: when you are using Facebook Connect, Google Login, GitHub Login etc. on a third party site (your bank, a retail shop, etc.) you are actually using OpenID Connect.
In our use case, the third party site is your service that need to authenticate the end-user and Google is the Authorization Server.
A successful authentication sequence goes through those steps:
- The end-user connects to the target service using its web browser
- The target service has no existing session for the end-user. So, it redirects the end-user to the Authorization Server (Google in our setup).
- The Authorization Server (AS) authenticates the end-user and redirects the end-user back to the target service. When doing so, the AS adds a short lived random code in the URL, called the authorization code.
- The target service capture this authorization code and contact the Authorization Server to exchange this code against a long lived “Access Token” and even longer lived “Refresh Token”.
- On a regular basis, the target service contacts the Authorization Server to get a new Access Token by providing the Refresh Token.
- When the Refresh Token expires, the user needs to re-authenticate.
To be sure the target service is not a rogue application, the target service has to provide a “Client ID” and “Client Secret” when contacting the Authorization Server. The Client Secret is… secret! Make sure to keep it safe!
For the Authorization Server to redirect the end-user back to the target service, it has to know the URL of the target service. This is called the “Redirect URI”.
How to configure an OpenID Connect client in the Google Developer Console
The first step in order to use your Google Account as an OpenID Connect provider is to create an OpenID Connect client in the Google Developer Console.
It works for regular GMail users as well as for professional Google Suite users. Just like the regular GMail user, Google Suite users do not need any admin privileges to create an OpenID Connect client.
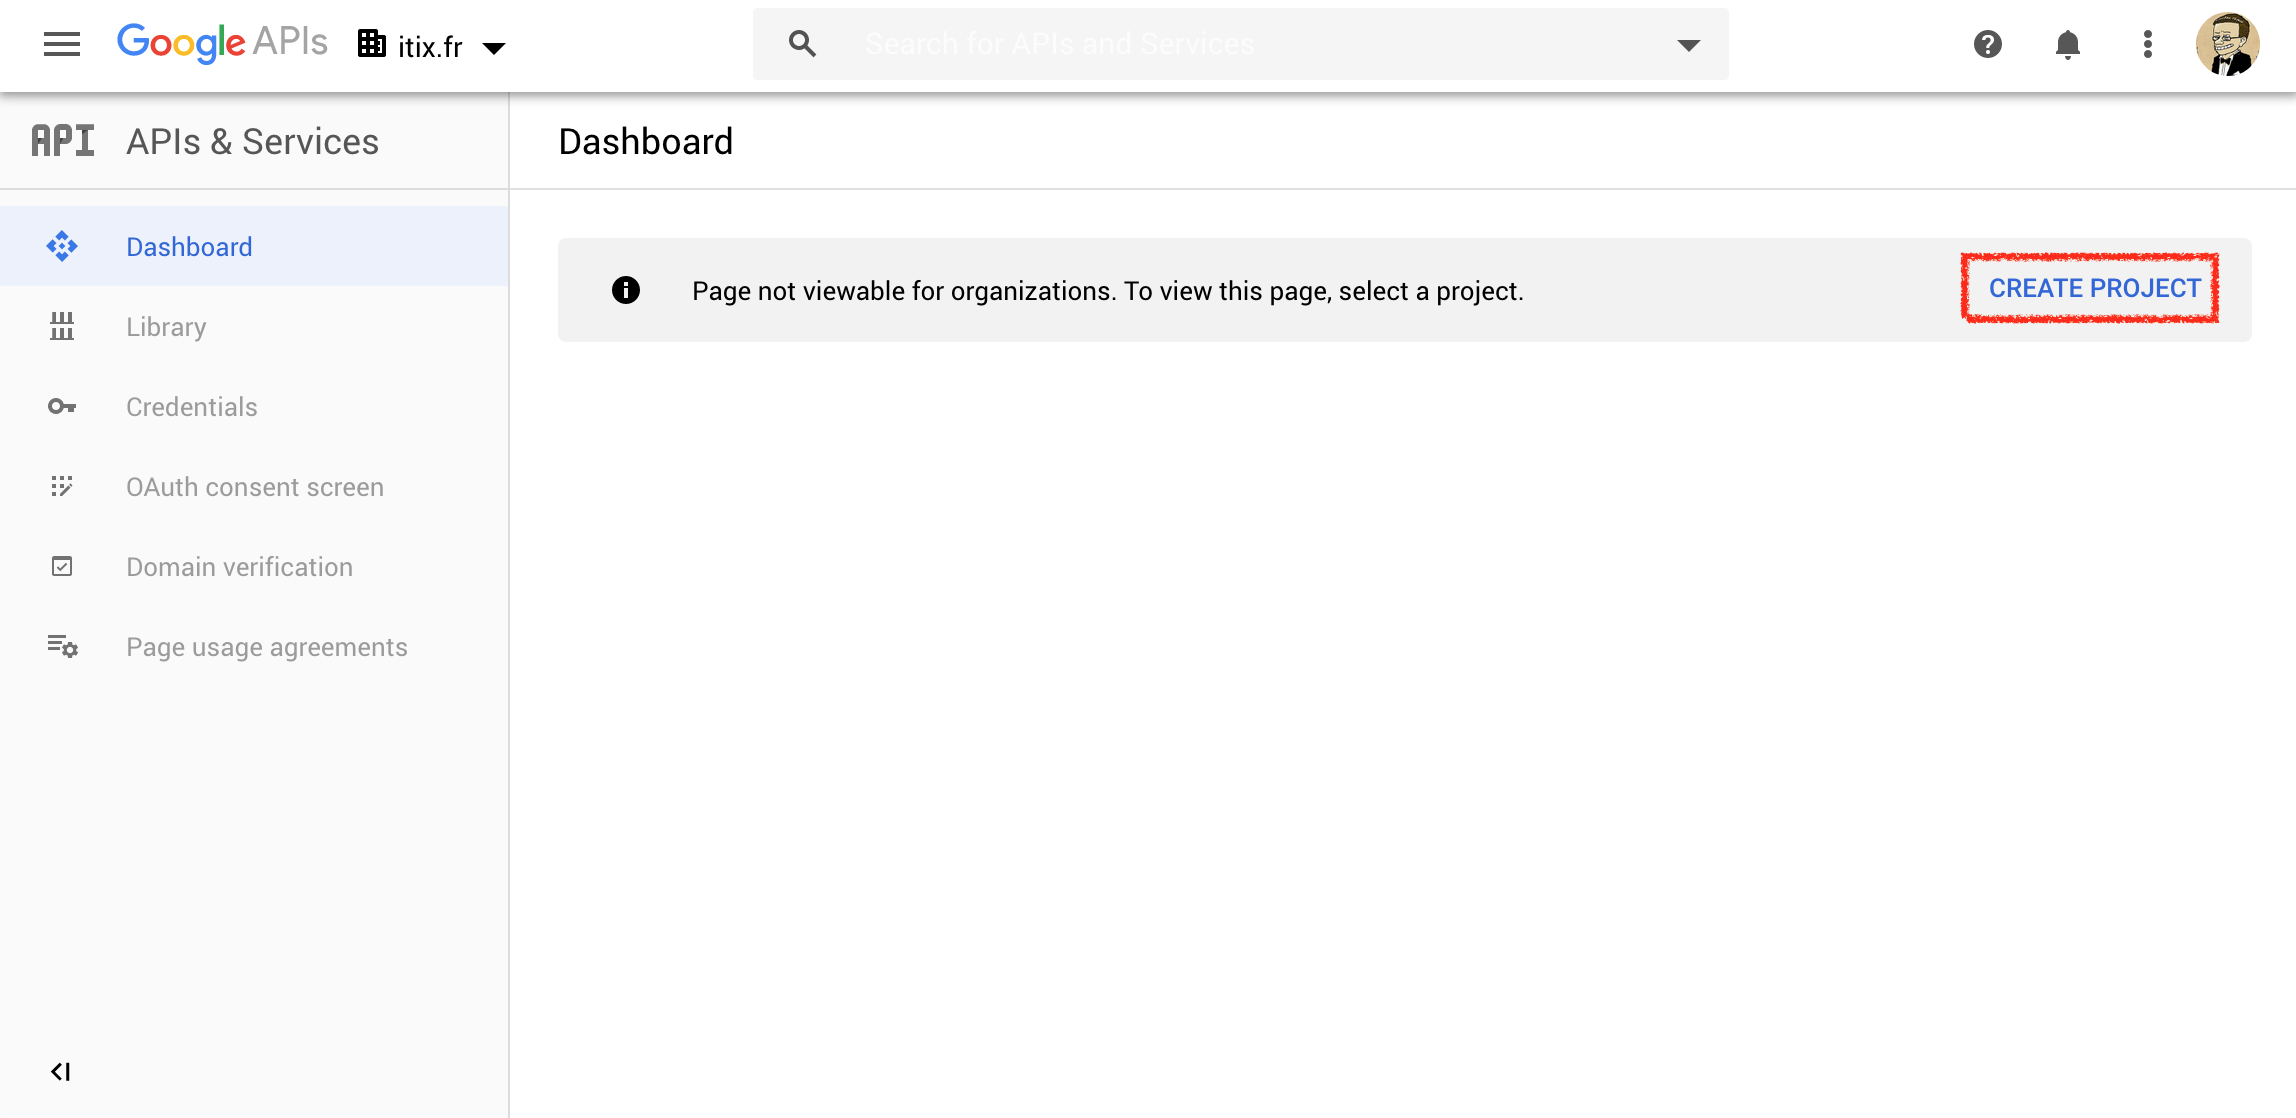
First, connect to the Google Developer Console.
Click Create Project.
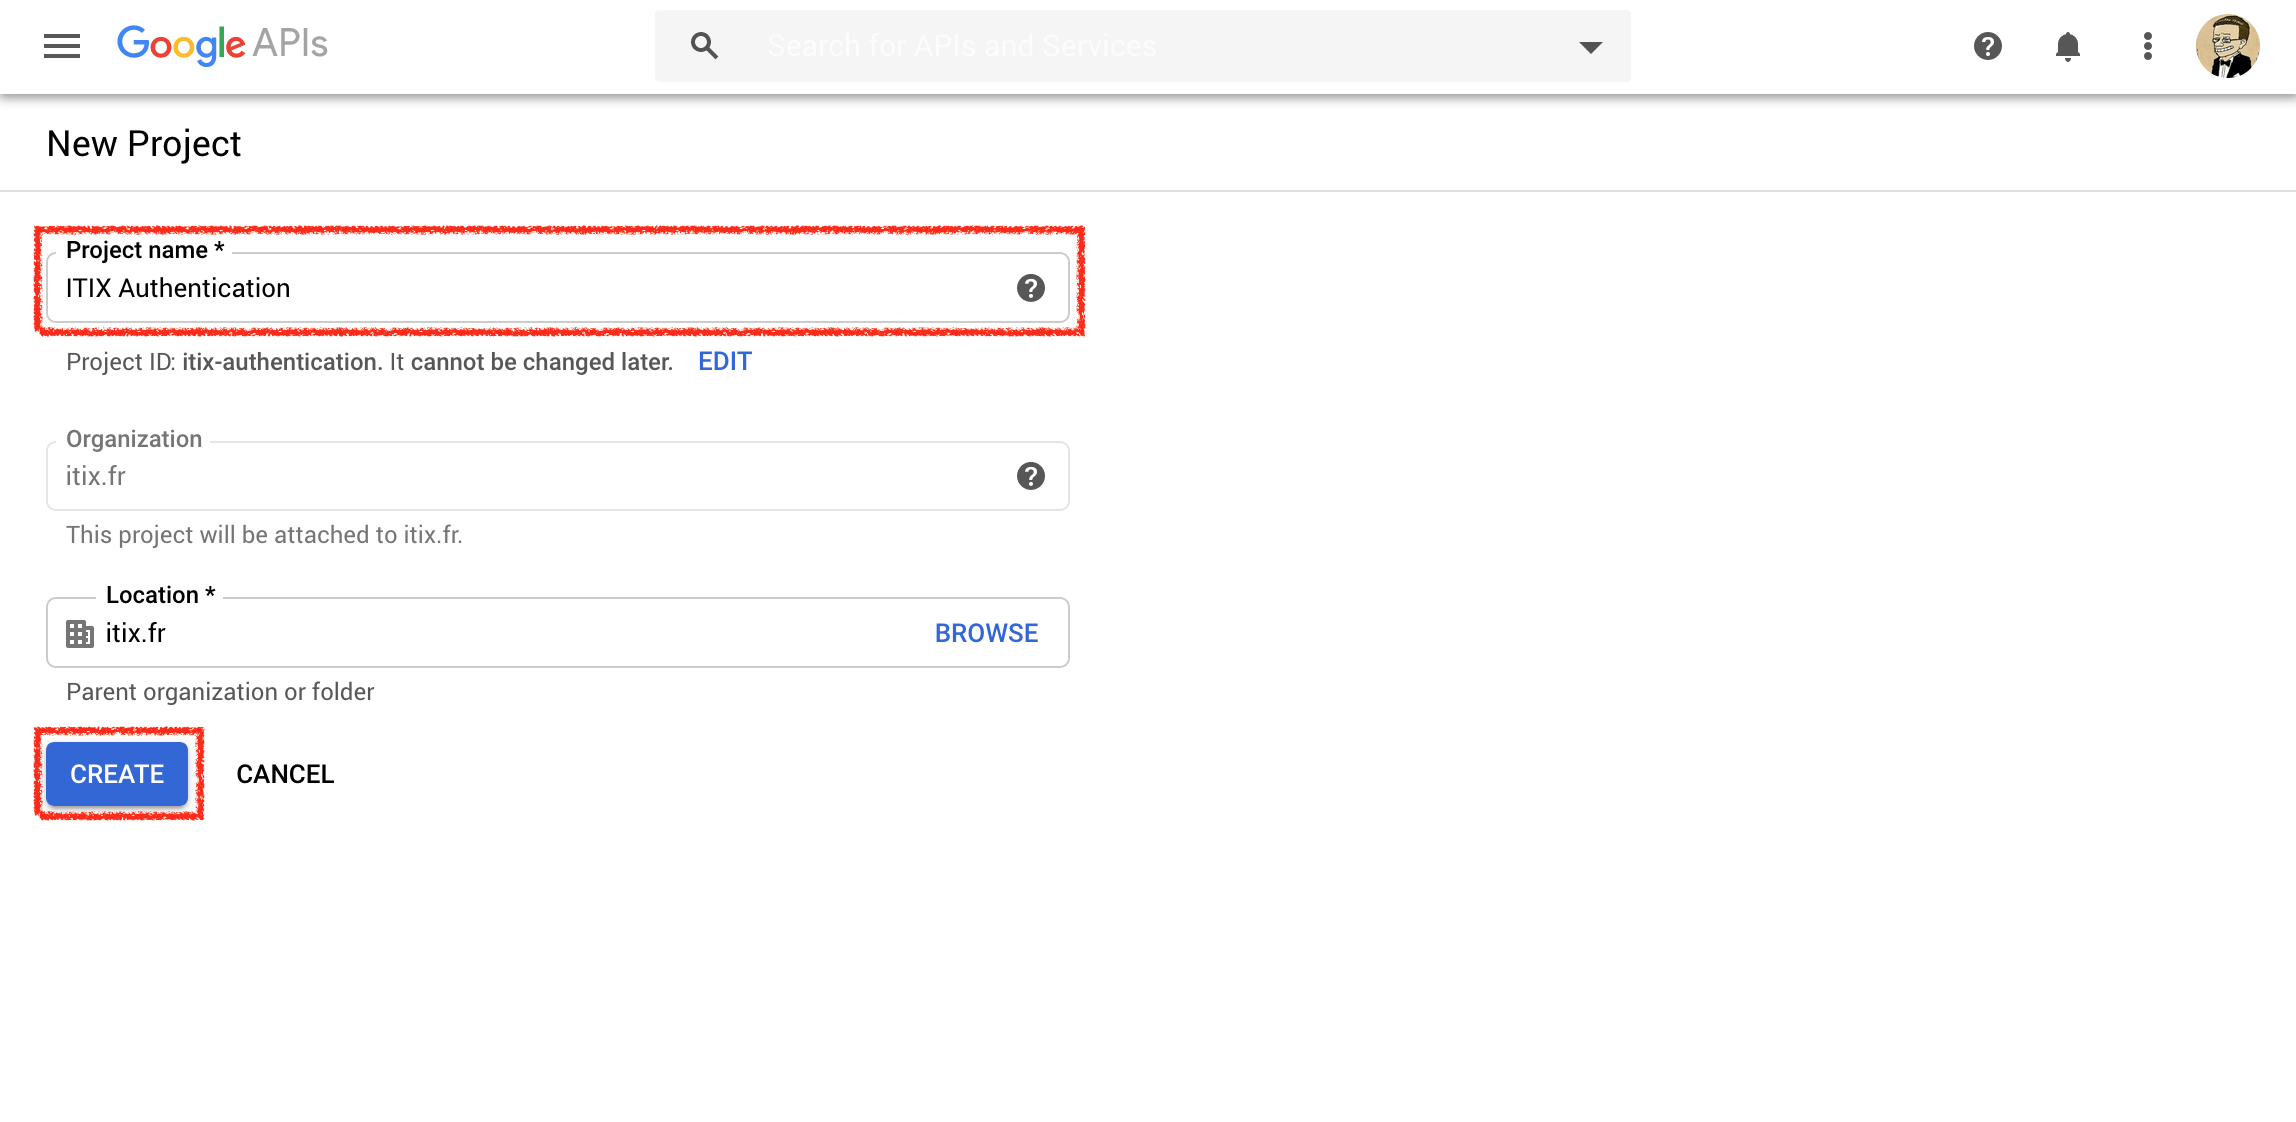
Fill-in the Project name (free choice). The location does not matter. Click Create.
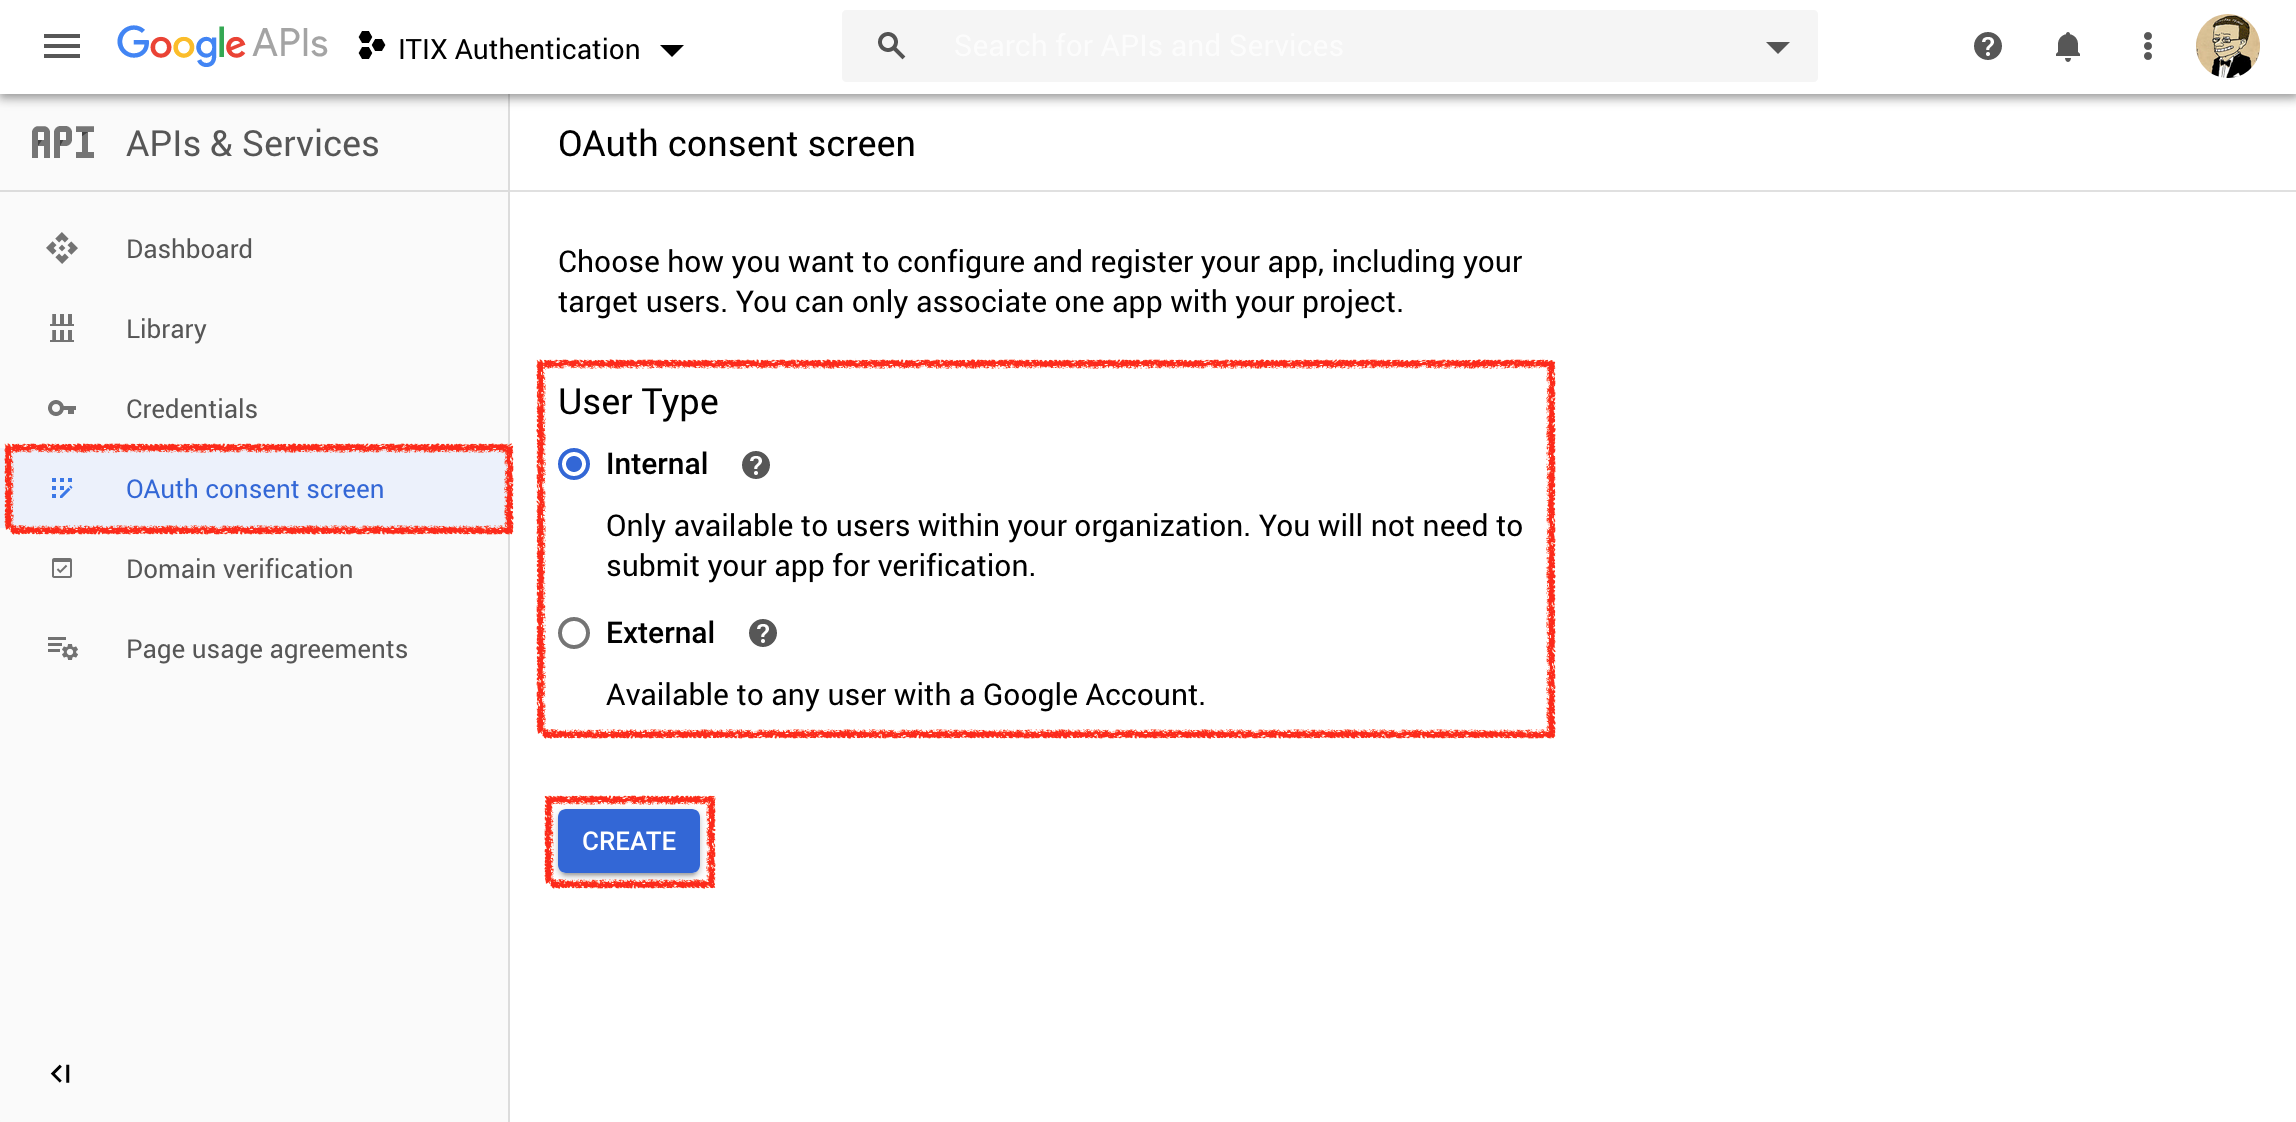
Click OAuth Consent screen. If you are a Google Suite user, select Internal. If you are a regular GMail user, select External. Click Create.
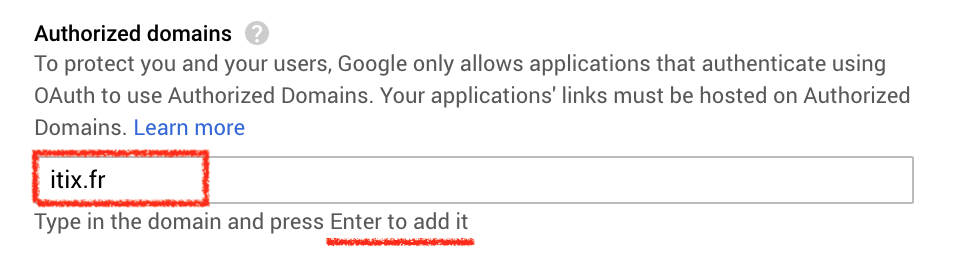
Choose an application name (free choice). Leave the default scopes. Add your personal domain to the list of Authorized Domains. For instance, if your target service is at raspberry-pi.example.test, add example.test. DO NOT FORGET to press Enter!
Fill-in the Application Homepage Link and Application Privacy Policy Link (free choices). Click Save.

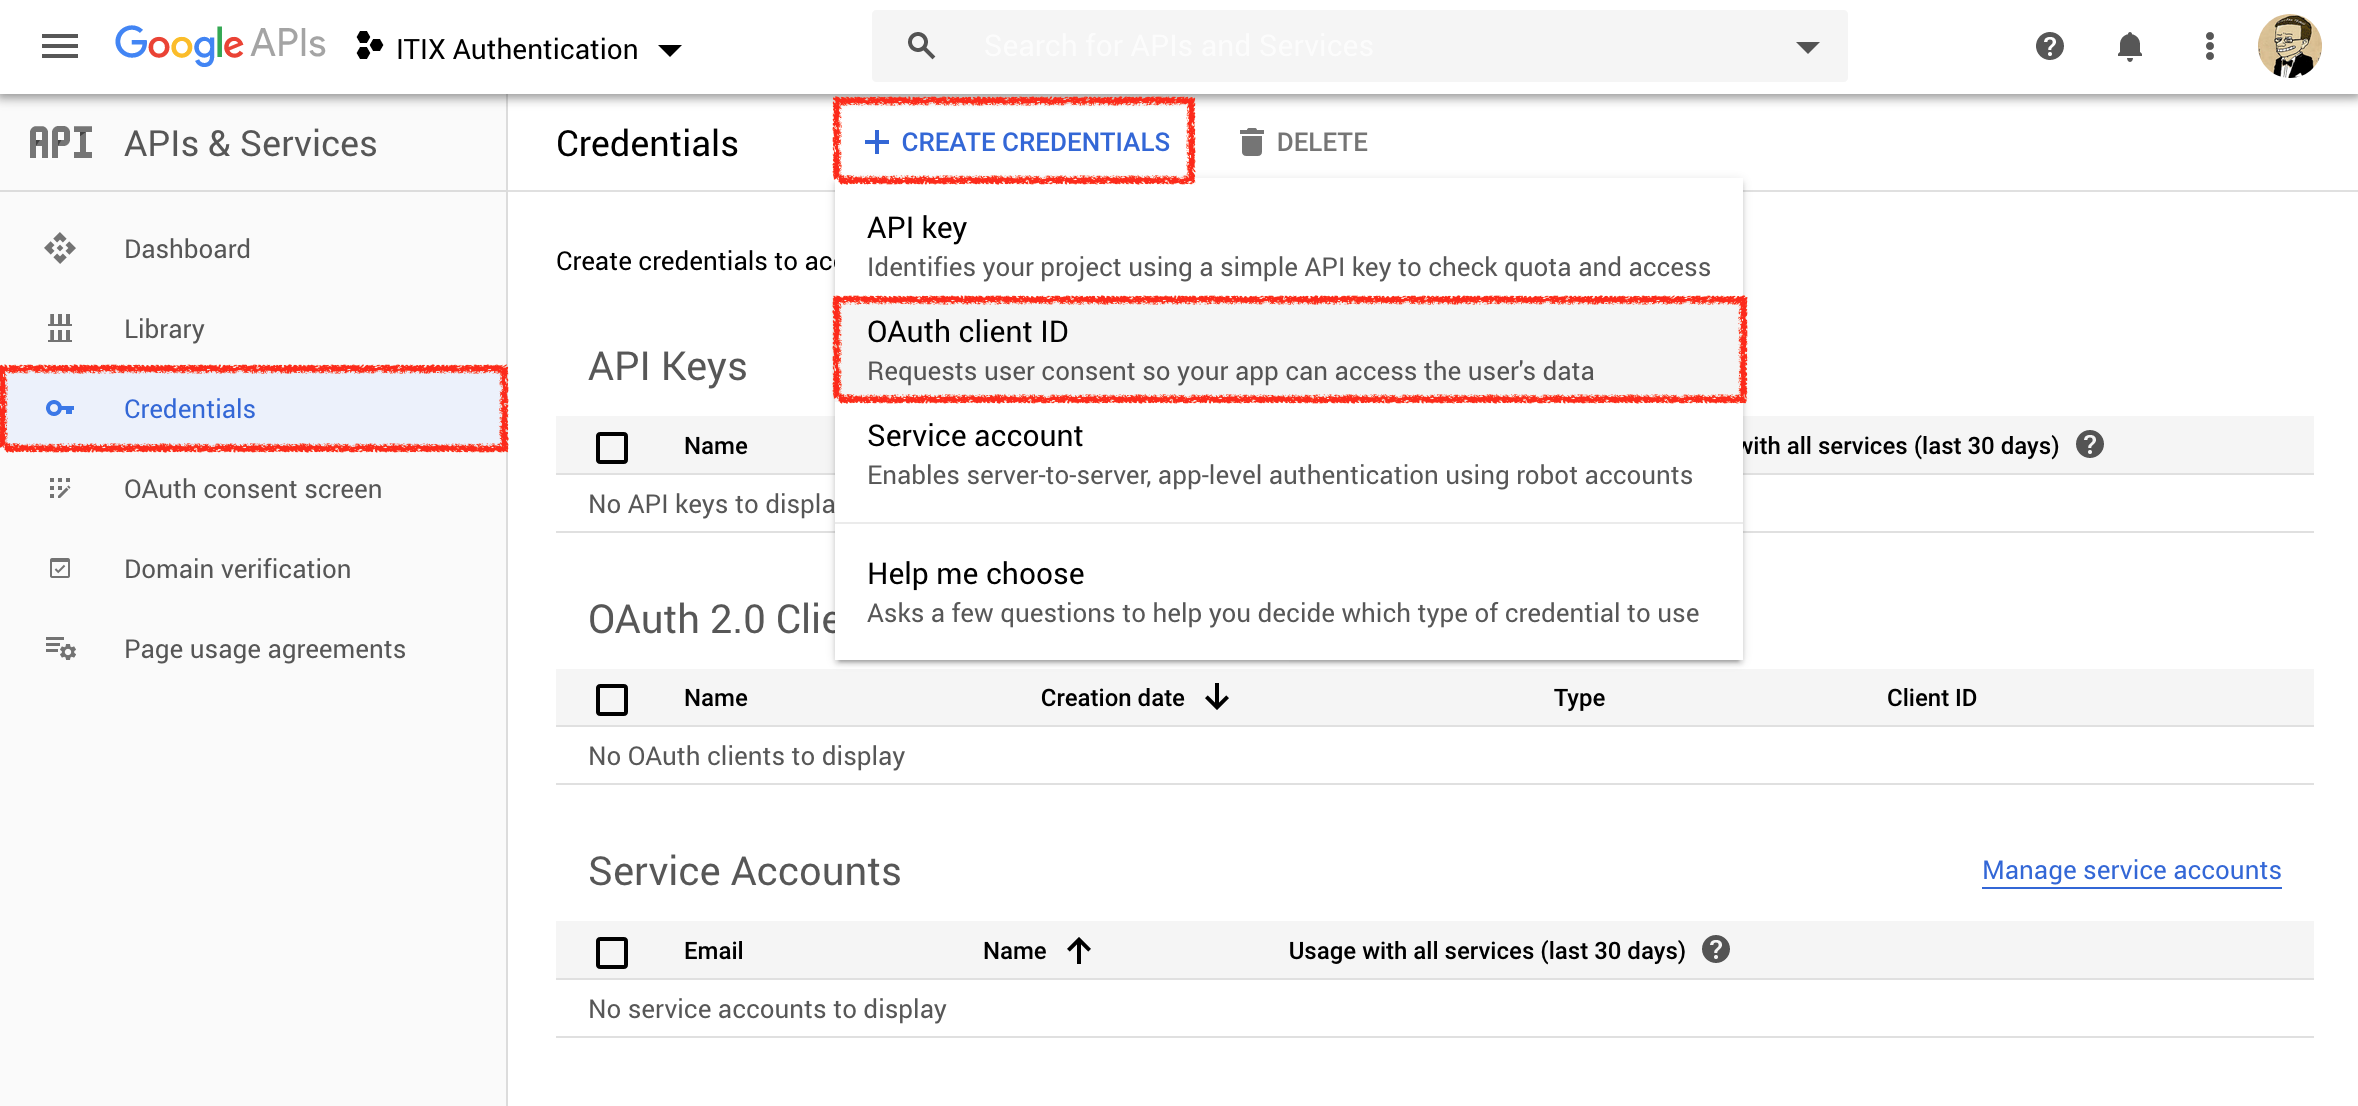
Click Credentials. Select + Create Credentials, then OAuth Client ID.
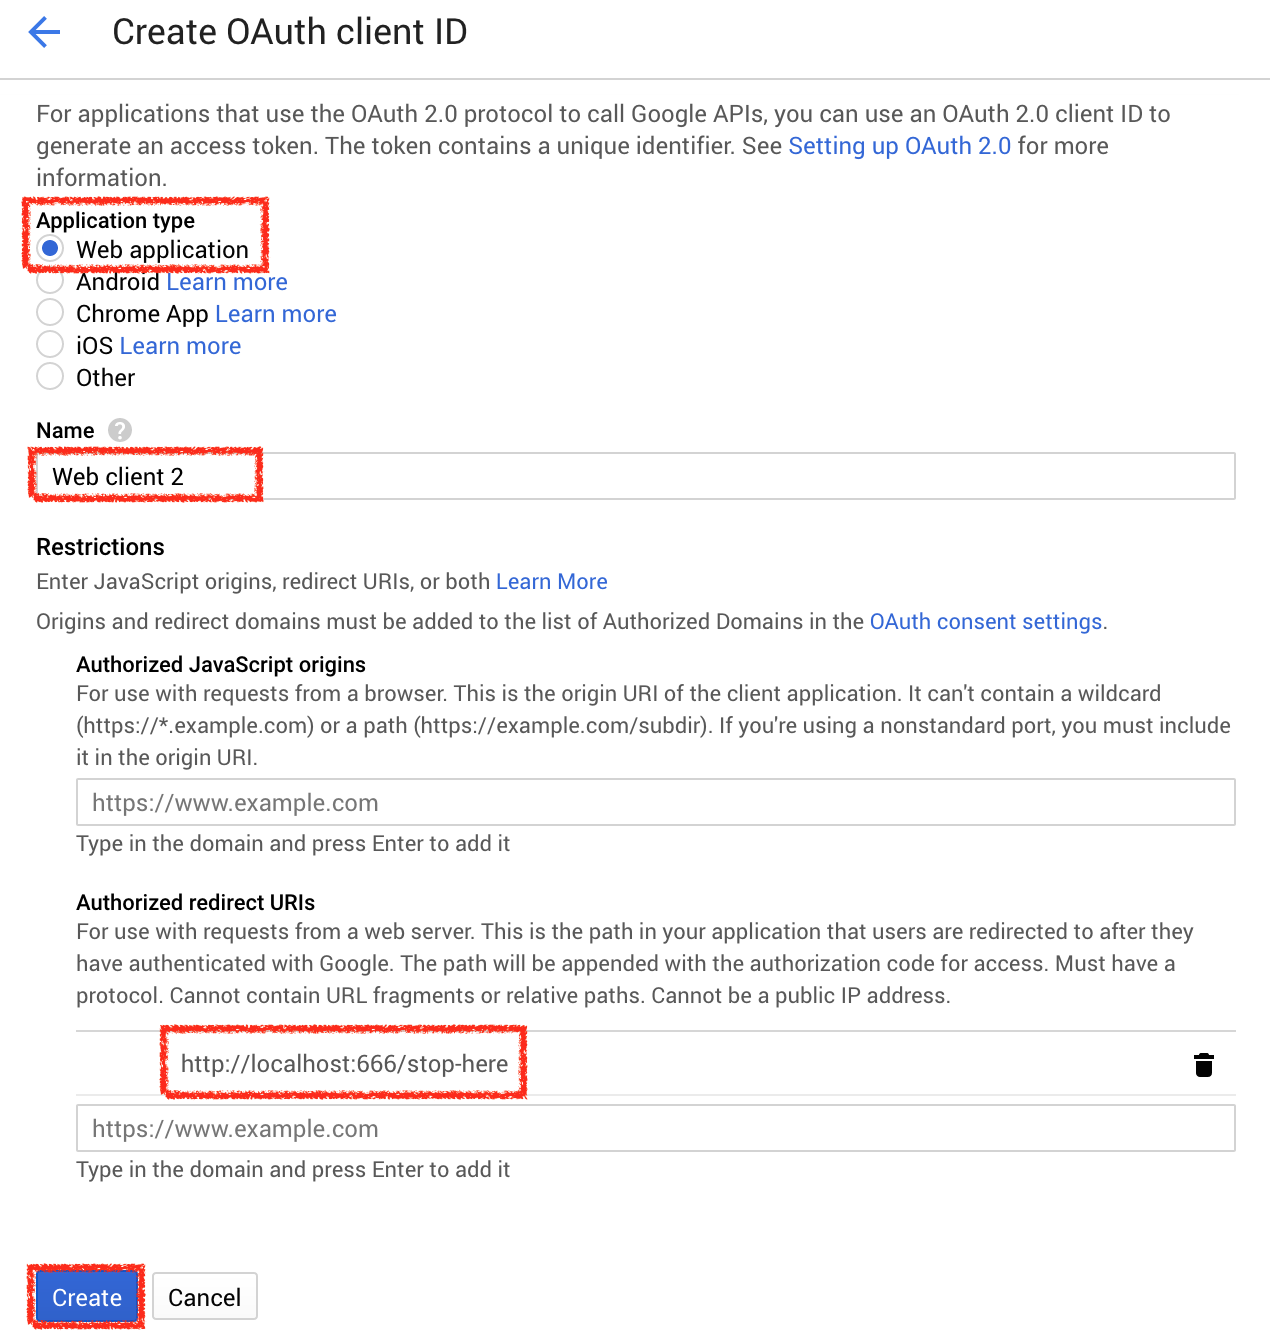
Under Application type, select Web Application. Choose a name for your application (free choice). Add the redirect URI of your target service if you know it already. Otherwise you can complete it later.
In the last part of this article, we will test our setup. To be able to do so, we need to add a special Redirect URI: http://localhost:666/stop-here (more on this later).
Click Create.
Google generated a Client ID and Client Secret for you. Keep them somewhere safe!
Test your setup
There are several open source tools to test your OpenID Connect setup but a very simple shell script is sufficient.
Download the following script and make it executable.
curl -o test-auth.sh https://www.itix.fr/blog/use-google-account-openid-connect-provider/test-auth.sh
chmod 755 test-auth.sh
Open test-auth.sh in your favorite editor and add your Client ID and Client Secret.
CLIENT_ID="<YOUR CLIENT_ID>.apps.googleusercontent.com"
CLIENT_SECRET="<YOUR CLIENT_SECRET>"
Now, run this script!
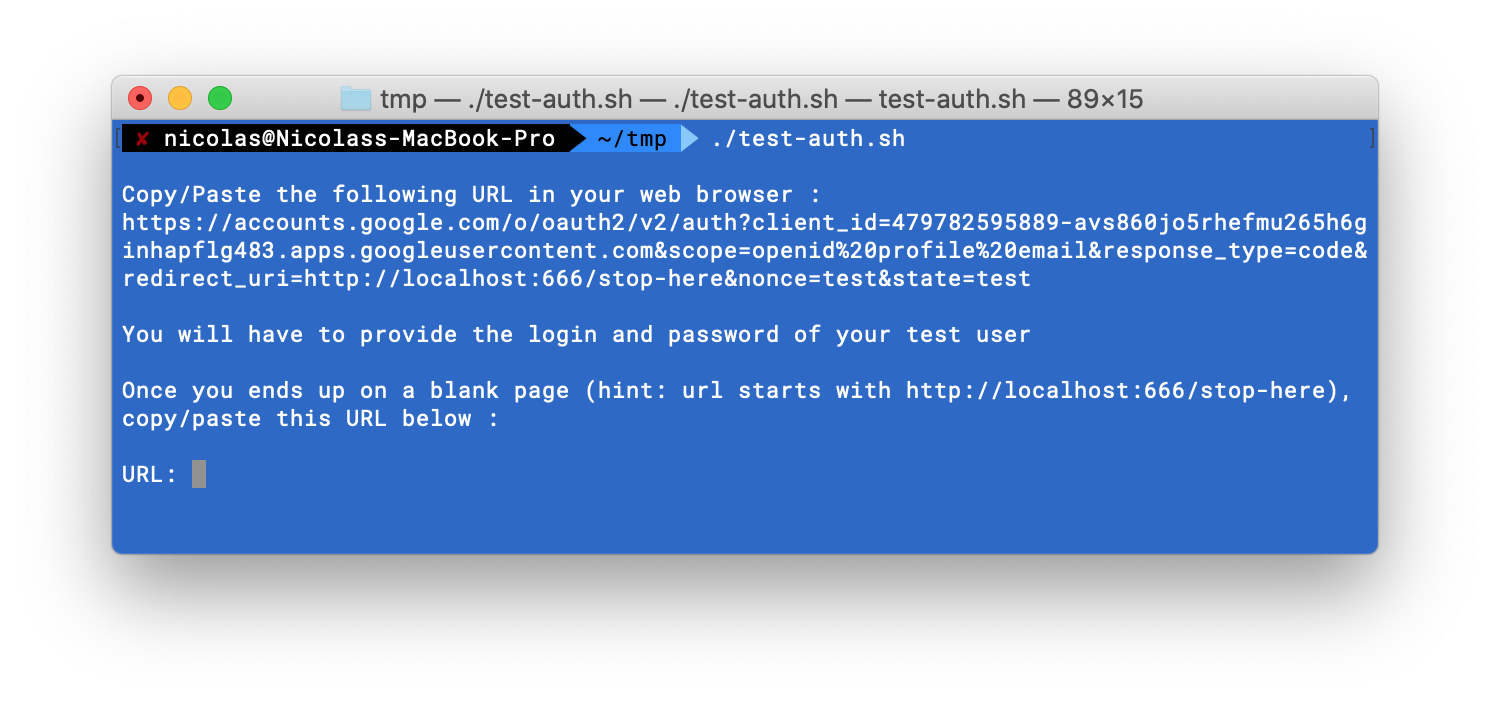
./test-auth.sh
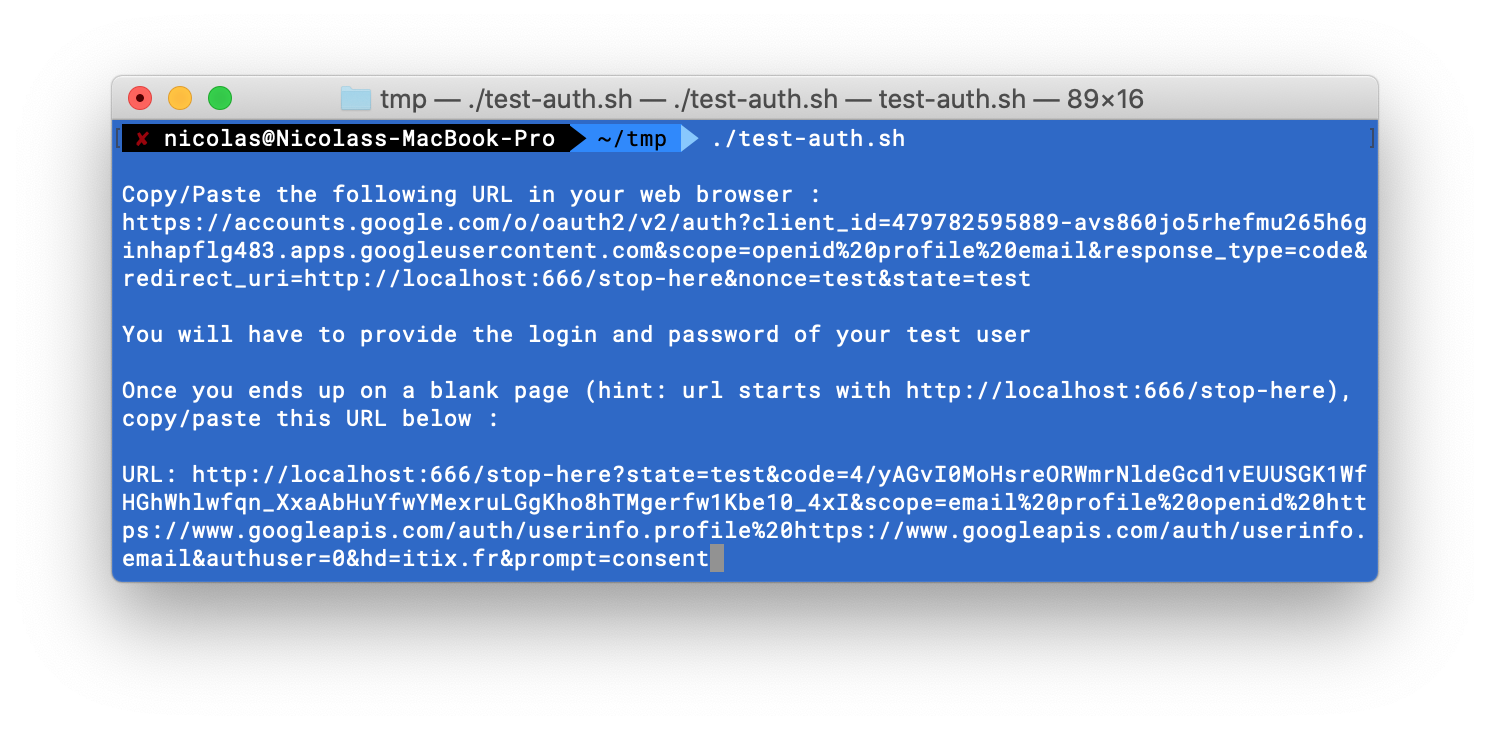
The script generates a URL that you need to copy and paste in your web browser.
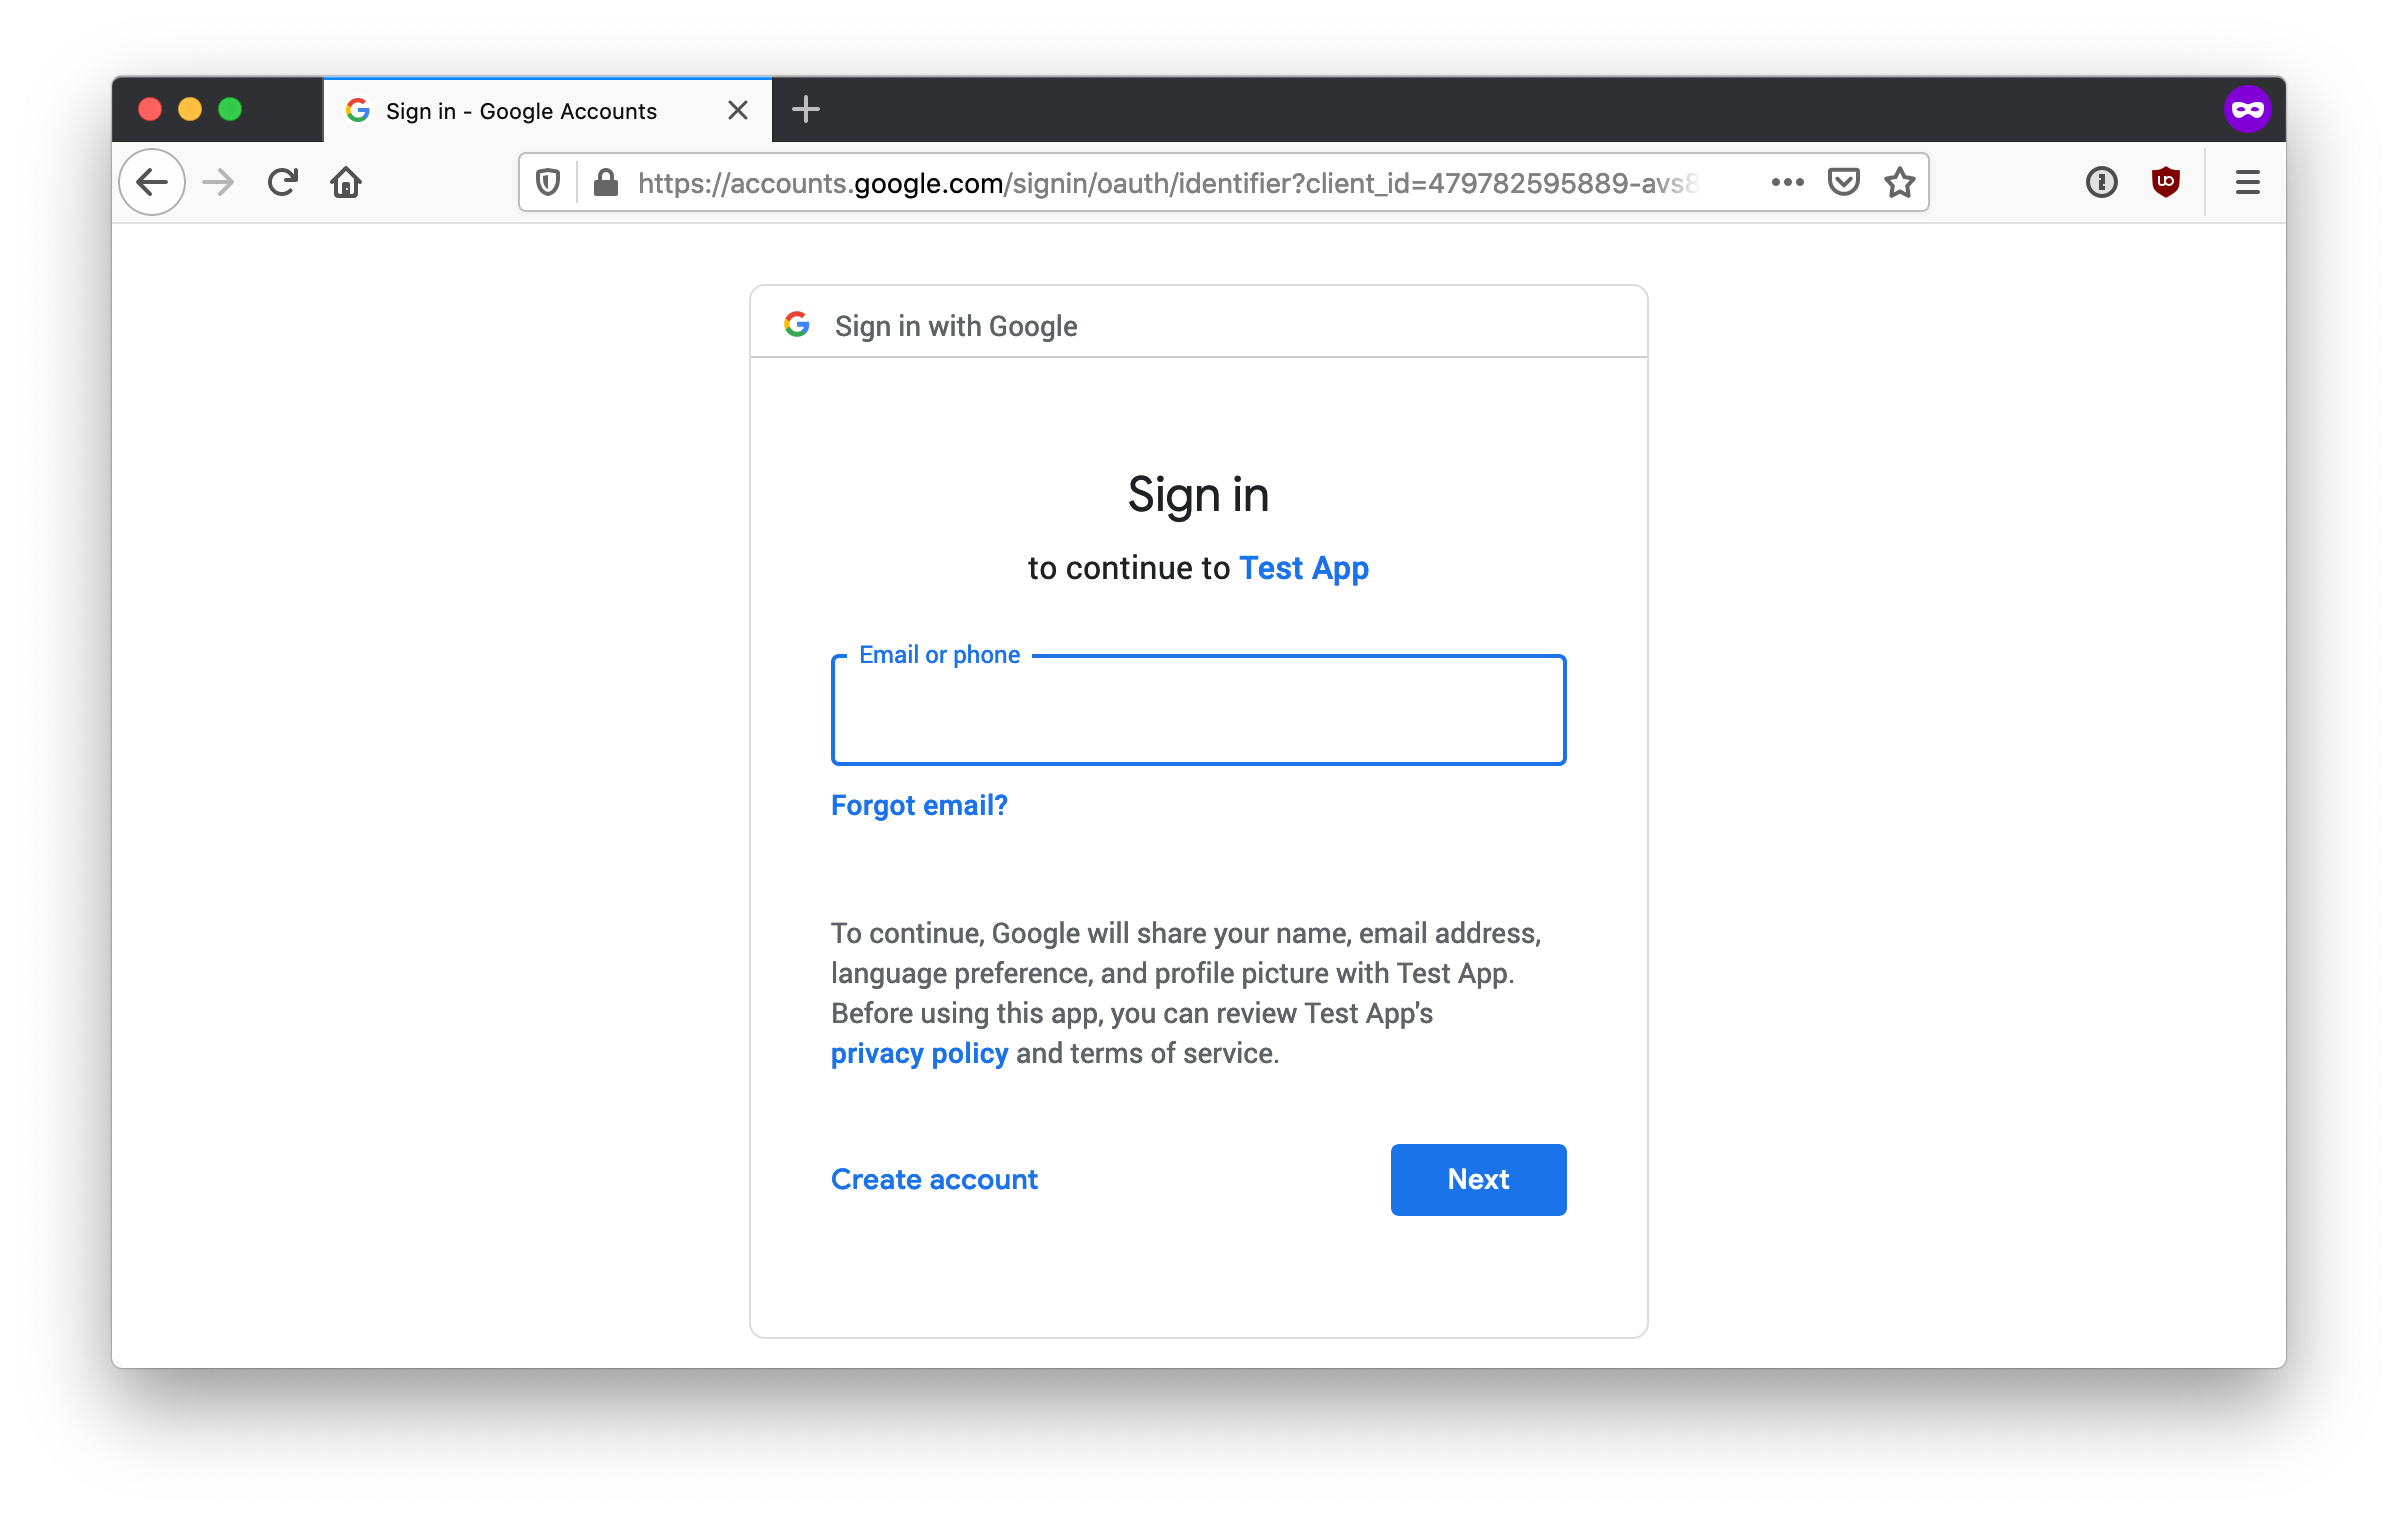
If you are not yet logged in, Google asks you to authenticate.
Once logged in or if you are already logged in, you are redirected to the fake Redirect URI we registered earlier.
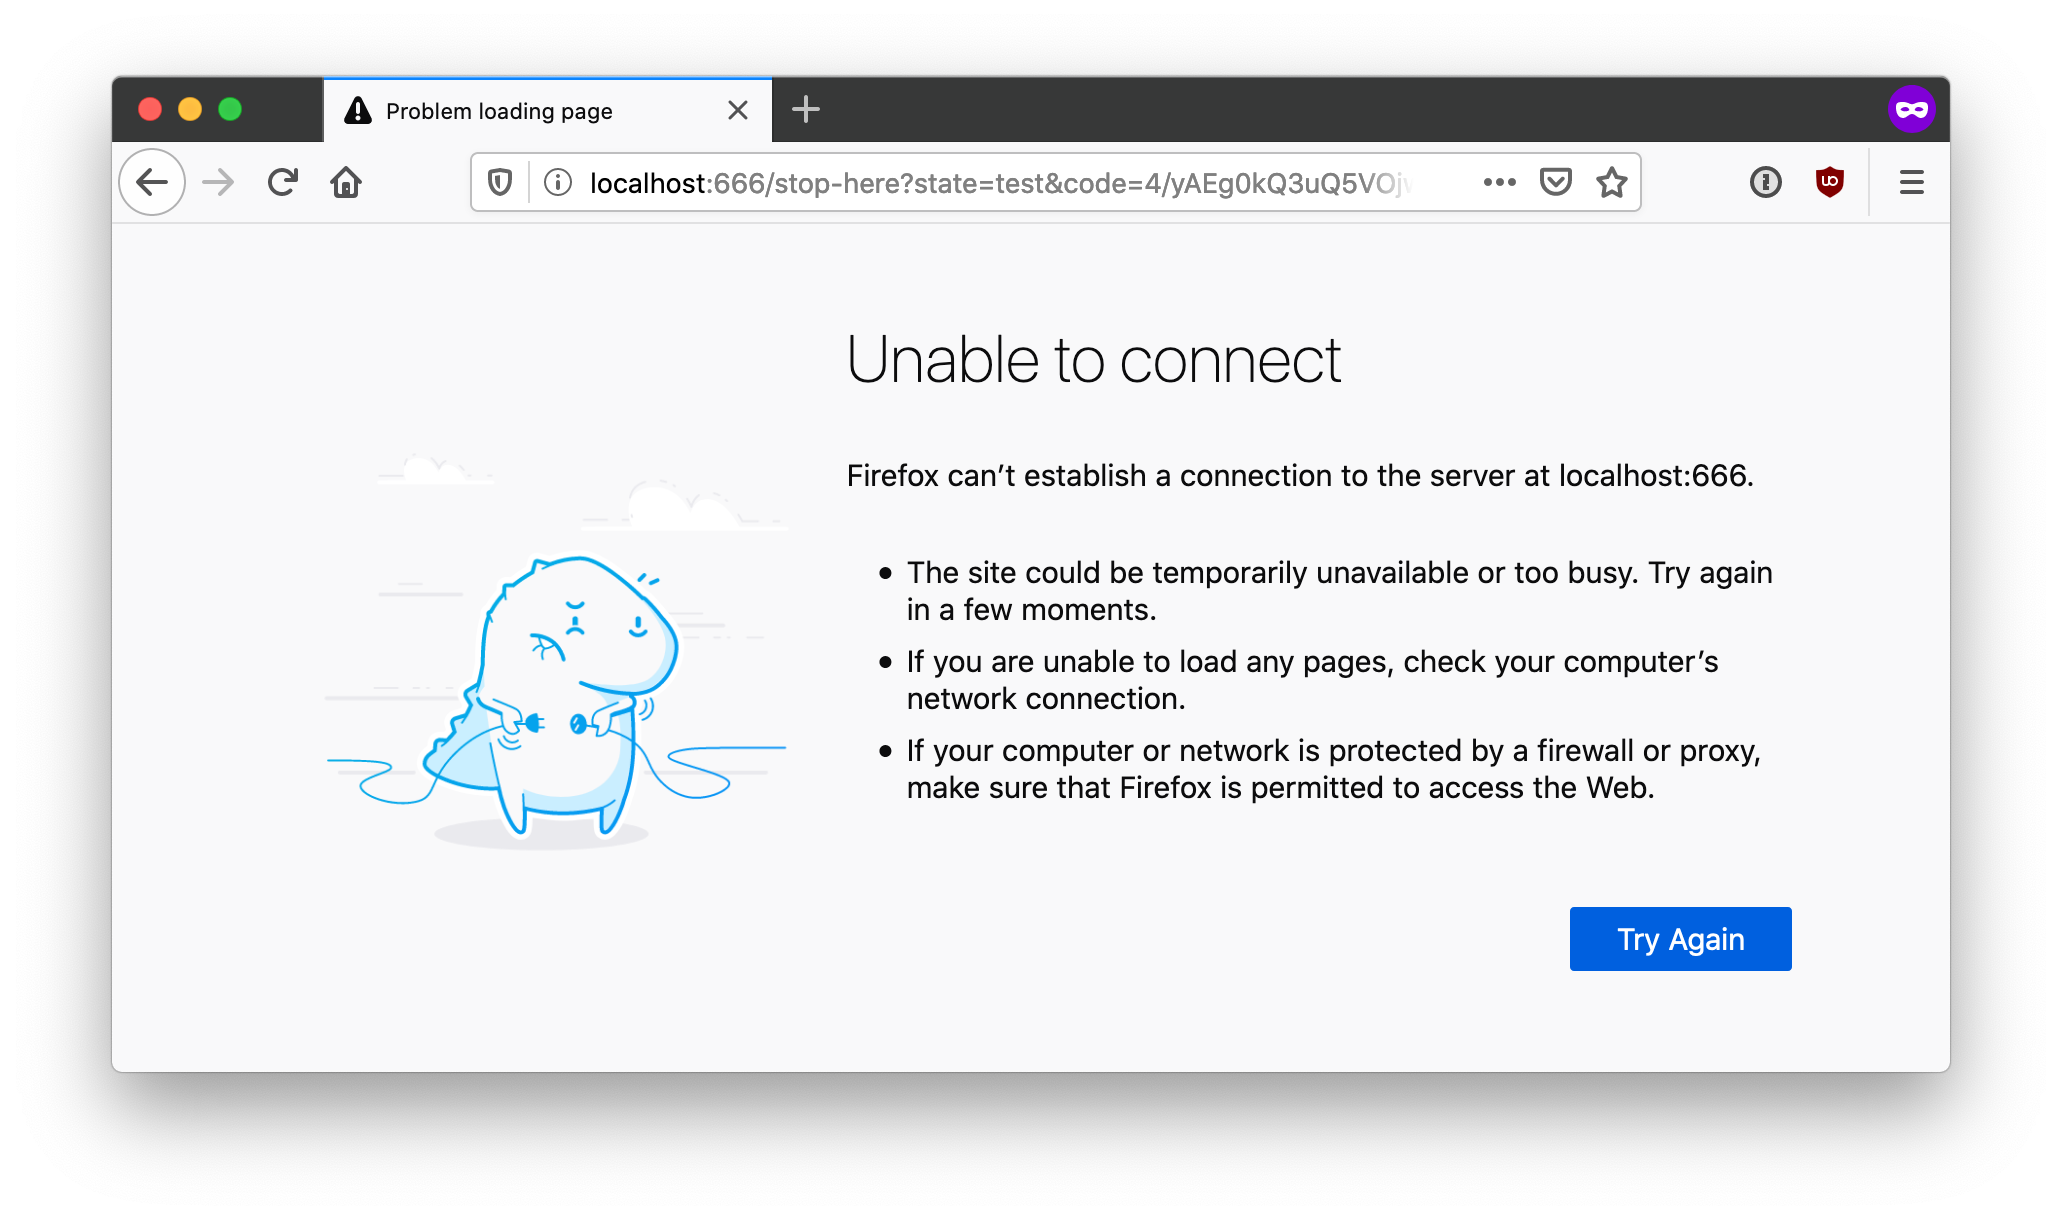
We registered a fake Redirect URI so that we could play each part of the OpenID Connect exchange manually. So, if you see an error message from your web browser saying that it cannot connect to the target service: THIS IS EXPECTED FOR OUR TEST.
Once the browser is redirected at http://localhost:666/stop-here, copy the redirect URI from the address bar of your web browser and paste it in the script. Press Enter.
Remember that the Authorization Code is very short lived. So, be quick!
The script contacts the Authorization Server to get an Access Token from the Authorization Code captured in the Redirect URI.
The retrieved Access Token and Refresh Token are printed. The response from the User Info endpoint is also printed.
Checking the access_token

{
  "sub": "114331641802984310666",
  "name": "Nicolas Massé",
  "given_name": "Nicolas",
  "family_name": "Massé",
  "profile": "https://plus.google.com/114331641802984310666",
  "picture": "https://lh3.googleusercontent.com/a-/AOh14Gg6bHAeILvBuKXJxfbBAScPB_z6QBCh9i4ga_wL_w",
  "email": "nicolas DOT masse AT itix.fr",
  "email_verified": true,
  "gender": "male",
  "locale": "en",
  "hd": "itix.fr"
}
Congratulation! You just completed your first OpenID Connect exchange manually!
Conclusion
This article gave a general overview of OpenID Connect protocol, explained how to configure an OpenID Connect client in the Google Developer Console and how to test your setup.
Now, you are all set to use your Google Account as an OpenID Connect provider. Continue with one of the following articles: